Techniques for Perfectly Exposed Photos

Techniques for Perfectly Exposed Photos
Exposure in photography isn’t just about capturing a well-lit image—it’s about achieving your creative vision. Here’s an in-depth guide to mastering exposure by understanding the relationship between shutter speed, aperture, and ISO.
Understanding Shutter Speed
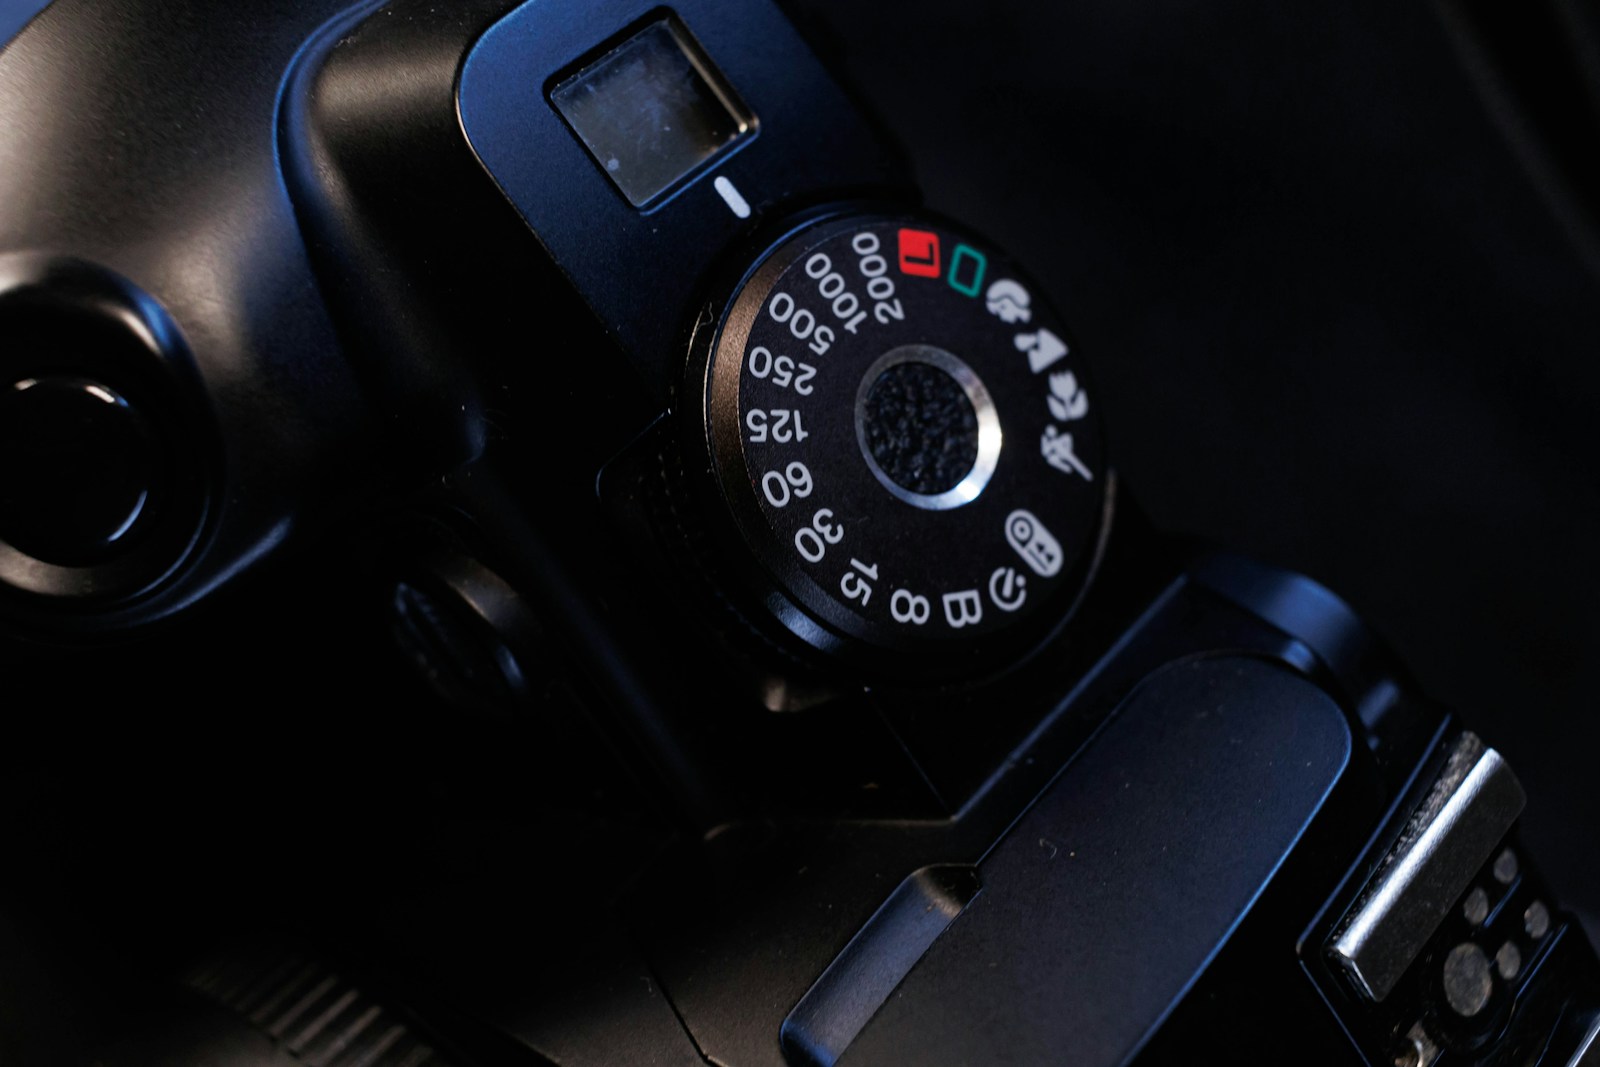
Shutter speed is the duration your camera’s sensor is exposed to light. It’s measured in fractions of a second (e.g., 1/1000s, 1/250s) or in seconds for long exposures. Here’s how it affects your photos:
- Fast Shutter Speeds (1/1000s or faster): These freeze motion, ideal for action shots like sports or wildlife. The faster the shutter speed, the less light hits the sensor, which may require a wider aperture or higher ISO to compensate.
- Slow Shutter Speeds (1/60s or slower): These introduce motion blur, useful for creative effects like light trails or to convey movement in water. Slow speeds increase the risk of camera shake, so using a tripod is advisable. They also allow more light to hit the sensor, which can be beneficial in low light conditions.
Mastering Aperture
Aperture, measured in f-stops (e.g., f/1.8, f/16), controls the size of the lens opening and thus the amount of light entering the camera. It also impacts depth of field:
- Wide Apertures (f/1.4 to f/2.8): These produce a shallow depth of field, making the subject stand out against a blurred background (bokeh). This is great for portraits and macro photography. A wider aperture lets in more light, which is advantageous in low-light situations but requires careful focusing due to the narrow depth of field.
- Narrow Apertures (f/8 to f/16): These create a greater depth of field, keeping more of the scene in focus, which is ideal for landscapes and architectural shots. Narrow apertures let in less light, necessitating longer shutter speeds or higher ISO settings in low light.
Navigating ISO
ISO determines the sensor’s sensitivity to light. Lower ISO values (e.g., 100) result in less noise and finer detail, while higher ISO values (e.g., 3200) increase sensitivity but also introduce graininess:
- Low ISO (100-400): Best for bright conditions and when you want the highest image quality with minimal noise. Ideal for landscapes and studio photography with controlled lighting.
- High ISO (800 and above): Useful in low light when you can’t afford to slow down the shutter speed or widen the aperture any further. Modern cameras handle high ISO better, but there’s still a trade-off with noise.
Balancing the Exposure Triangle
Achieving the right exposure involves balancing these three elements. Here’s how to approach it:
- Determine Your Creative Goal: Start by deciding what effect you want. If you need a sharp action shot, set a fast shutter speed. For a blurred background, choose a wide aperture.
- Set the Primary Parameter: Based on your goal, set the primary parameter (shutter speed for motion, aperture for depth of field).
- Adjust the Others: Adjust the other two settings to achieve proper exposure. If using a fast shutter speed, compensate with a wider aperture or higher ISO. If using a narrow aperture, you might need a slower shutter speed or higher ISO.
Practical Tips and Practice
- Histogram Use: Utilize the histogram on your camera to ensure you’re capturing the full range of details without overexposing highlights or underexposing shadows.
- Bracketing: Shoot multiple exposures at different settings (bracketing) to ensure you get the best shot, especially in challenging lighting.
- Manual Mode: Practice shooting in manual mode to gain full control over exposure settings and understand how they interact.
Conclusion
Mastering exposure is about more than just technical precision; it’s about bringing your creative vision to life. By understanding and practicing the use of shutter speed, aperture, and ISO, you’ll be well-equipped to expose your images like a pro.
2 Comments
John Stevens
I was looking through some of your articles on this internet site
and I believe this site is very instructive! Continue posting.
Ethan Bennett
This is the first time I’ve understood the importance of aperture settings. Thanks for breaking it down!